Build the image selection to print
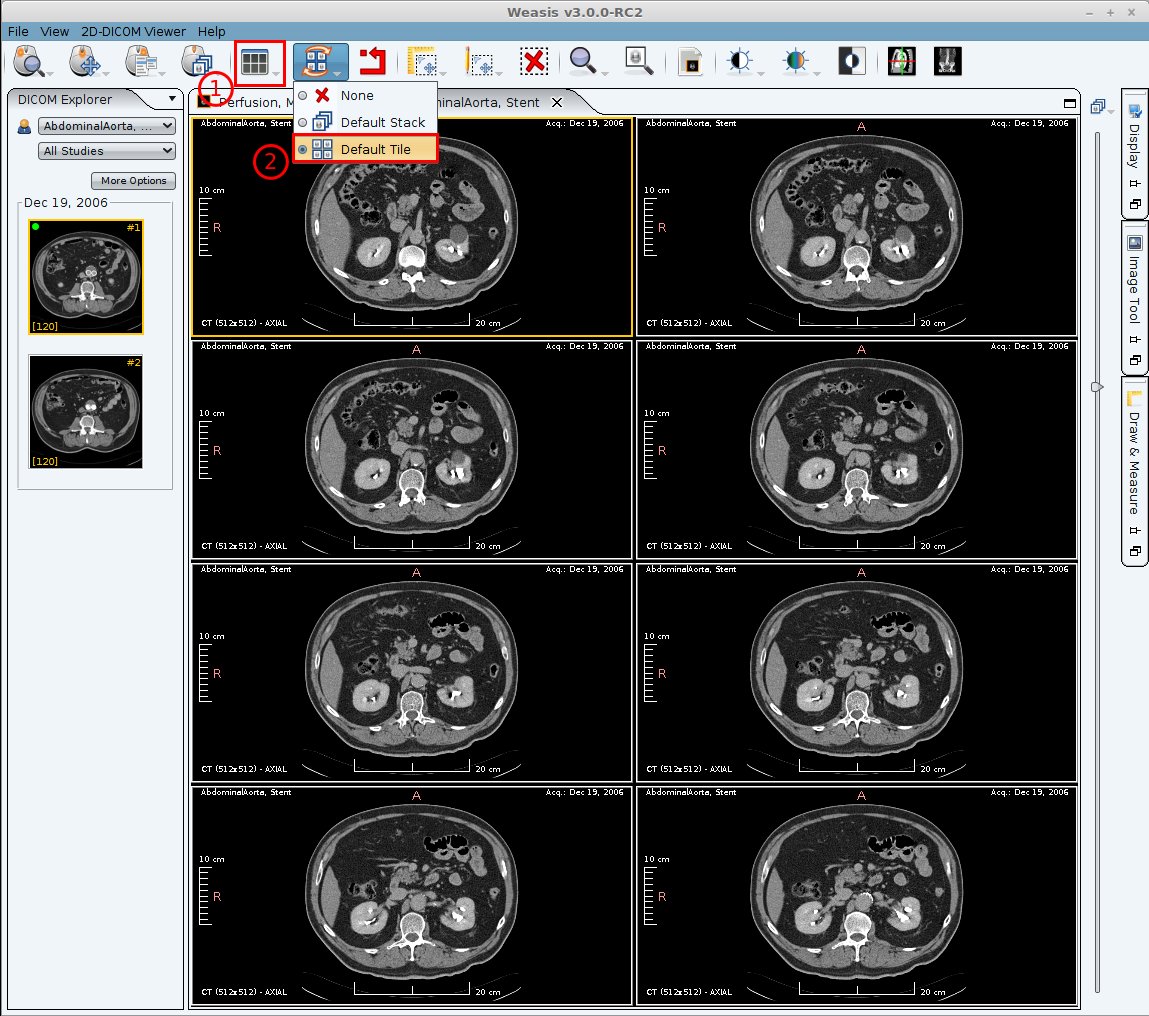
The image selection to print must be prepared before calling the print function. If you need to print more than one image per page, choose a layout from the dropdown button in the toolbar (1).
Note
The layout list is built dynamically according to the window size. So changing the window size ratio will provide other layouts. For instance, with a panoramic screen, you can choose a horizontal layout and then print with a landscape orientation.
To fill the layout with images you can change the synchronized mode of series (2):
- with Default Tile selected, all the views will be filled with the same series. Each view has a new image of the series stack (n + 1).
- with Default Stack selected, drag and drop a series into each view and select independently which image you want to display.
Select a print mode
Standard Printer
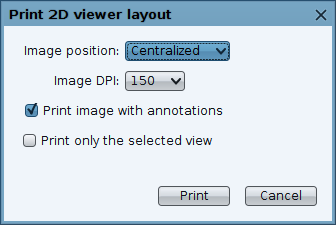
From the main menu, open File > Print > Print 2D viewer layout (P).
The meaning of the standard print parameters:
- Image position: the position of the image in the print area.
- Image DPI: the print resolution in dot per inch (Default value is 150). Higher DPI means higher resolution.
- Print image with annotations: Allows printing the annotations defined in the Display panel.
- Print only the selected view: When this option is checked, only the selected view is printed (view with an orange border). Otherwise, all the views of the layout are printed.
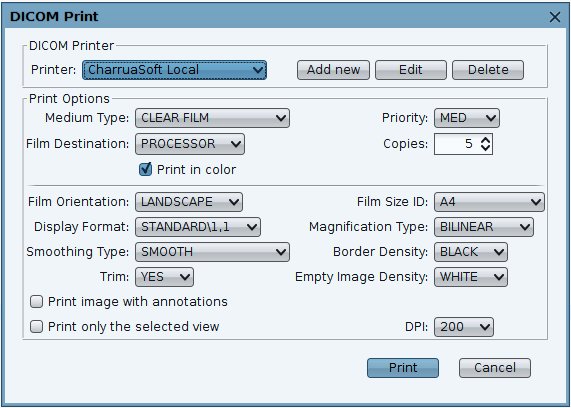
DICOM Print
From the main menu, open File > Print > DICOM Print.
In the DICOM Print dialog, you can manage several configurations. For meaning of the options, you can refer to the above parameters and the DICOM print pages.
The DICOM printer configurations can be distributed at the server side for all the clients, see preferences.

Note

